Showing posts with label Model Railroading is Fun. Show all posts

Wednesday, September 6, 2023

Chalk Marks - A New Method

I really want to draw attention to the human details that we so often forget on our models.  No, I don't mean modeling a brakemen riding a car exactly, or a clerk walking the paths in a yard, 'mud hopping' the string.  No, I mean the notes that the crews left for themselves and others to understand various needs of the car's status, routing, servicing, or maybe even to set the car out in the middle of a blizzard at night when the trainman doesn't feel like trying to read a car number.

Gel-Pen with 0.5mm tip and strong white covering gel-ink which makes great chalk-marks!

So I wasn't planning to circle back to the NC&StL 15337 so fast, but I went by Michael's craft store today and found a great little white gel-pen from GELLYROLL 0.5mm tipped pen.  It doesn't work so well on glossy surfaces, but works great on dullcoated surfaces.  I found that I needed to clean the tip on some paper or ideally wood (tie material works great) to get fresh gel on the ball to present it onto the model surface.

Let's look at a few examples of chalk marks by Gel Pen...

NC&StL 15337


NC&StL 15337 - Fowler -TRRA photo, East St Louis, July 1948, Illinois, Joe Collias coll, Bobs Photo - Ted Culotta collection - with permission

Cross check the work against the prototype photo.  Not bad!  Looks like there's a #9 on the left end of the car.  Could be a track number or maybe a train symbol.  Hard to tell.  Several old chalk marks at the left stirrup which have been wiped out with someone's rag or a sleeve.  There's an old mark below the light weight.  I'm guessing there's a AB bleed-valve arrow and the letters "Rod" under door.  The door has some rough math of some sort being worked out, along with to the right of the door.  A random "P" appears to be next to the Internal Dimension data block, and some other marks under the lower ladder rungs.

A little work with the new gel-pen toy on the left side of NC&StL 15337 to match prototype photograph.

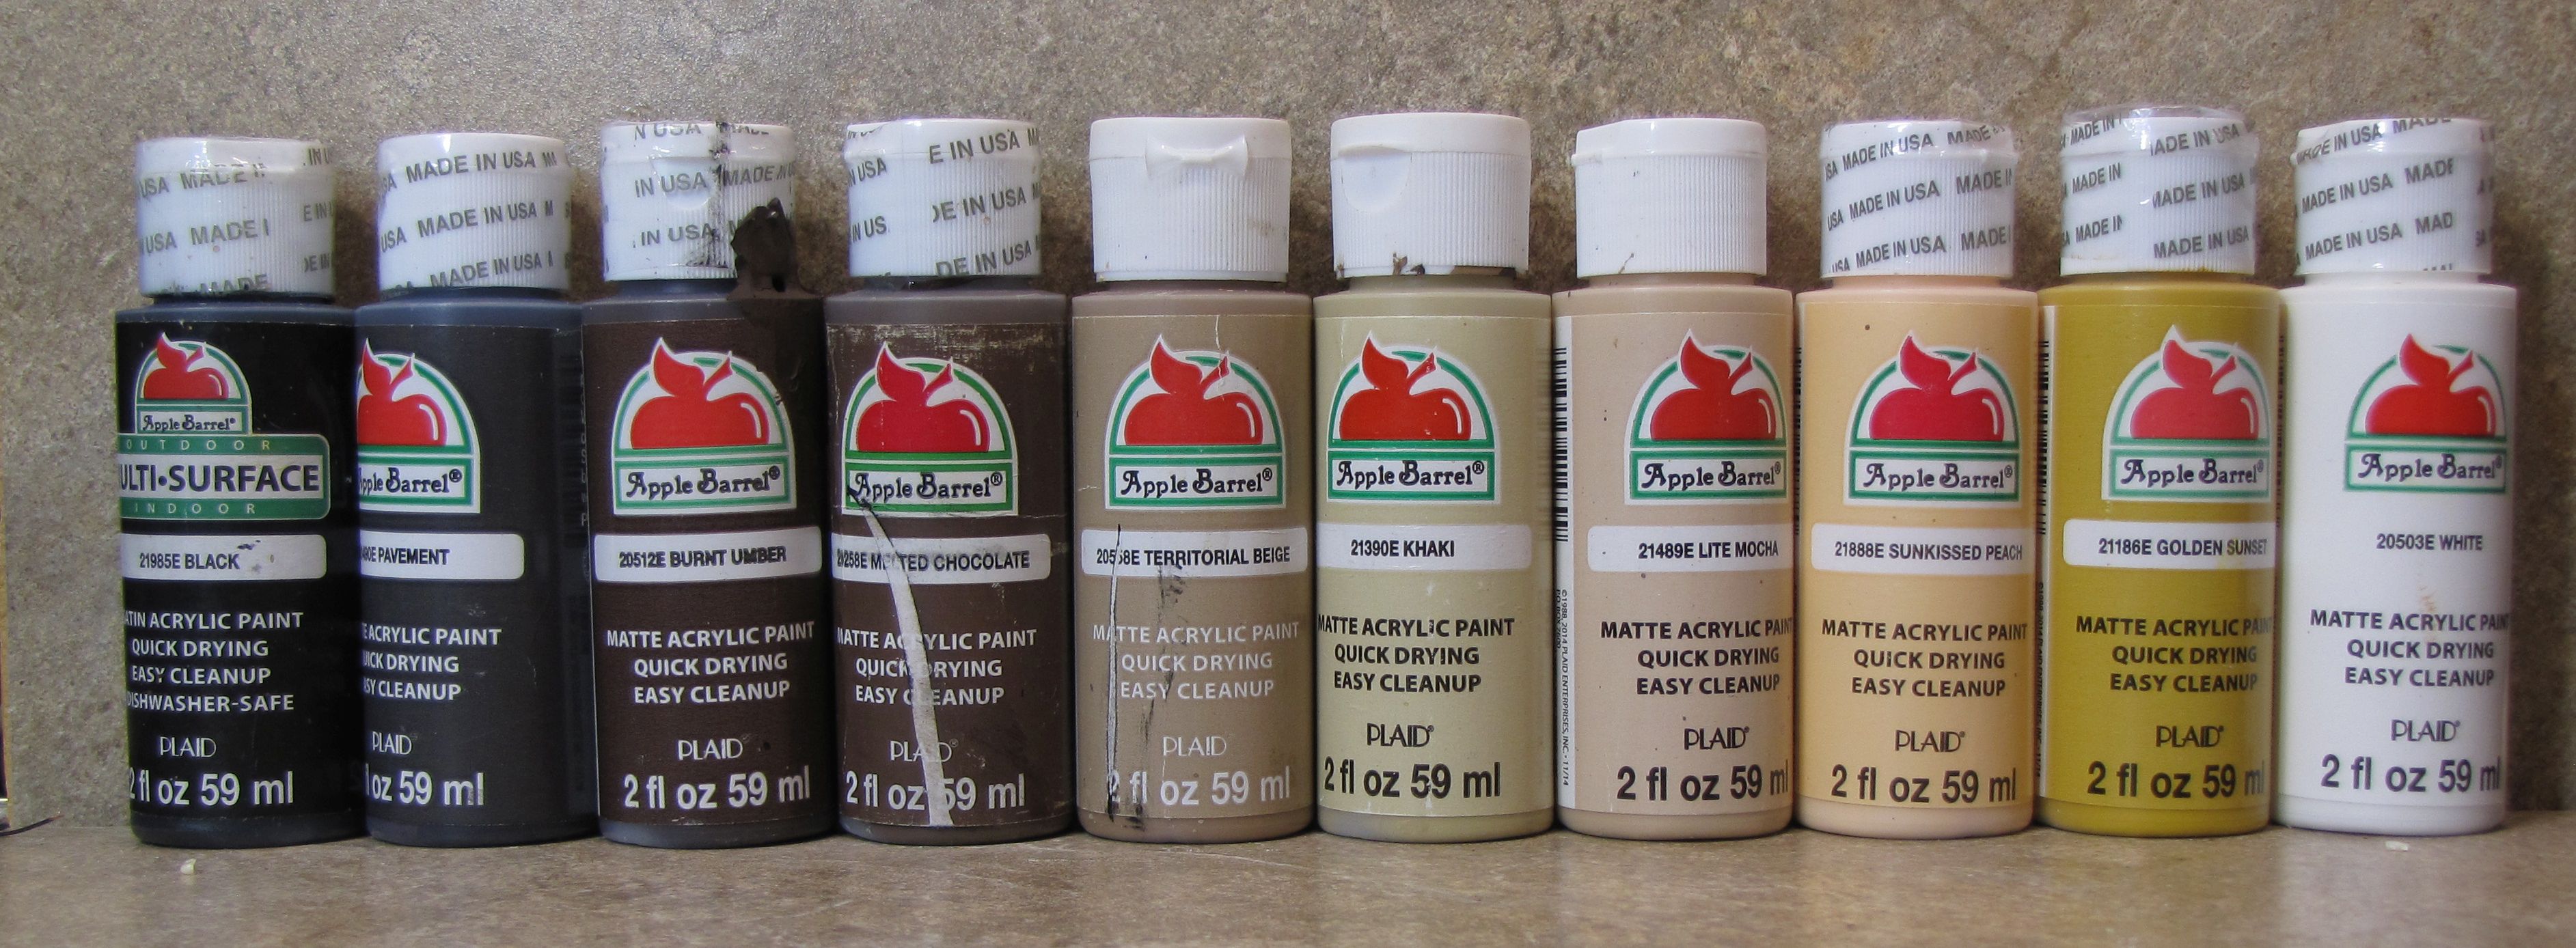
I like this white gel, as it dries flat and looks good as chalk marks.  I'm also planning to get some gray and other colors, like yellow, red, green, etc which carmen and clerks used if it was at hand.  The colors I'm looking for aren't going to be neon or super bright, but more realistically colored chalks that would have been available in the 1940s-1950s.

Right side of NC&StL 15337 with an assortment of chalk markings with the gel-pen.

The other side of the car is pretty basic, with OK marks, some other cryptic scribbles, some door math again to round it out the model.  I have some other plans in the work to do the final detailing on this model, which will make up last of the series on the NC&StL 15337 (Part 4).

SP 15203


SP 15203 with "Shorts" chalk mark.

The left side of Rapido B-50-15 includes the arrow for trainmen to quickly find the bleed valve lever in the dark of night when walking the string of cars.  As my Jawbone Branch is connected directly to traffic flow between Bakersfield and Los Angeles, usually using the freight symbol "Mojave Shorts", or often just called the "Shorts" for the division, direction implied by which end of the division the car is starting on.  Shorts West from Los Angeles  and Shorts East from Bakersfield.  The combination of the station number "1511" indicates the car's heading for Mojave.

The other side of SP 15203 just has the crypic instruction "Hold".

One of the common chalk marks was "Hold", this can be used in dozens of places and is a great mark to put on cars.  Is the car empty and the agent wants to keep it in the yard?  Well, 'Hold' it here.  Which cars are we pulling from this industry?  Oh, someone marked this as a hold, to remind us the loading crews aren't done with their work.  Maybe the car's on three-day demurrage agreement unload still, and there's a weekend, so the car's not having to be unloaded until Tuesday, so we're holding the car until it's released by the customer.

SP 15564


Looks like the last trip of SP 15564 wasn't kind, time for a "Clean out"!

The left side of SP 15564 I went with the basic bleed arrow and a carmen's instruction to get the car cleaned out, which usually involved a set-over to a track on the edge of the yard for a day and a visit from a worker with a broom.

The other side has an "OK" and the bleed arrow for this side.

For now the other side is very basic generic marks.  When I get a couple of other colors I may add some more.

NP 11661


NP 11661 with a few basic marks.

I haven't put much on this Rapido Double-sheath NP boxcar with simple marks for "4th St" and "S/O 2".  Sounds like the car recently was routed to something on 4th Street of somewhere and setout 2, which is another cryptic message for some Conductor to himself.

SP 37821 "Overnight" B-50-16


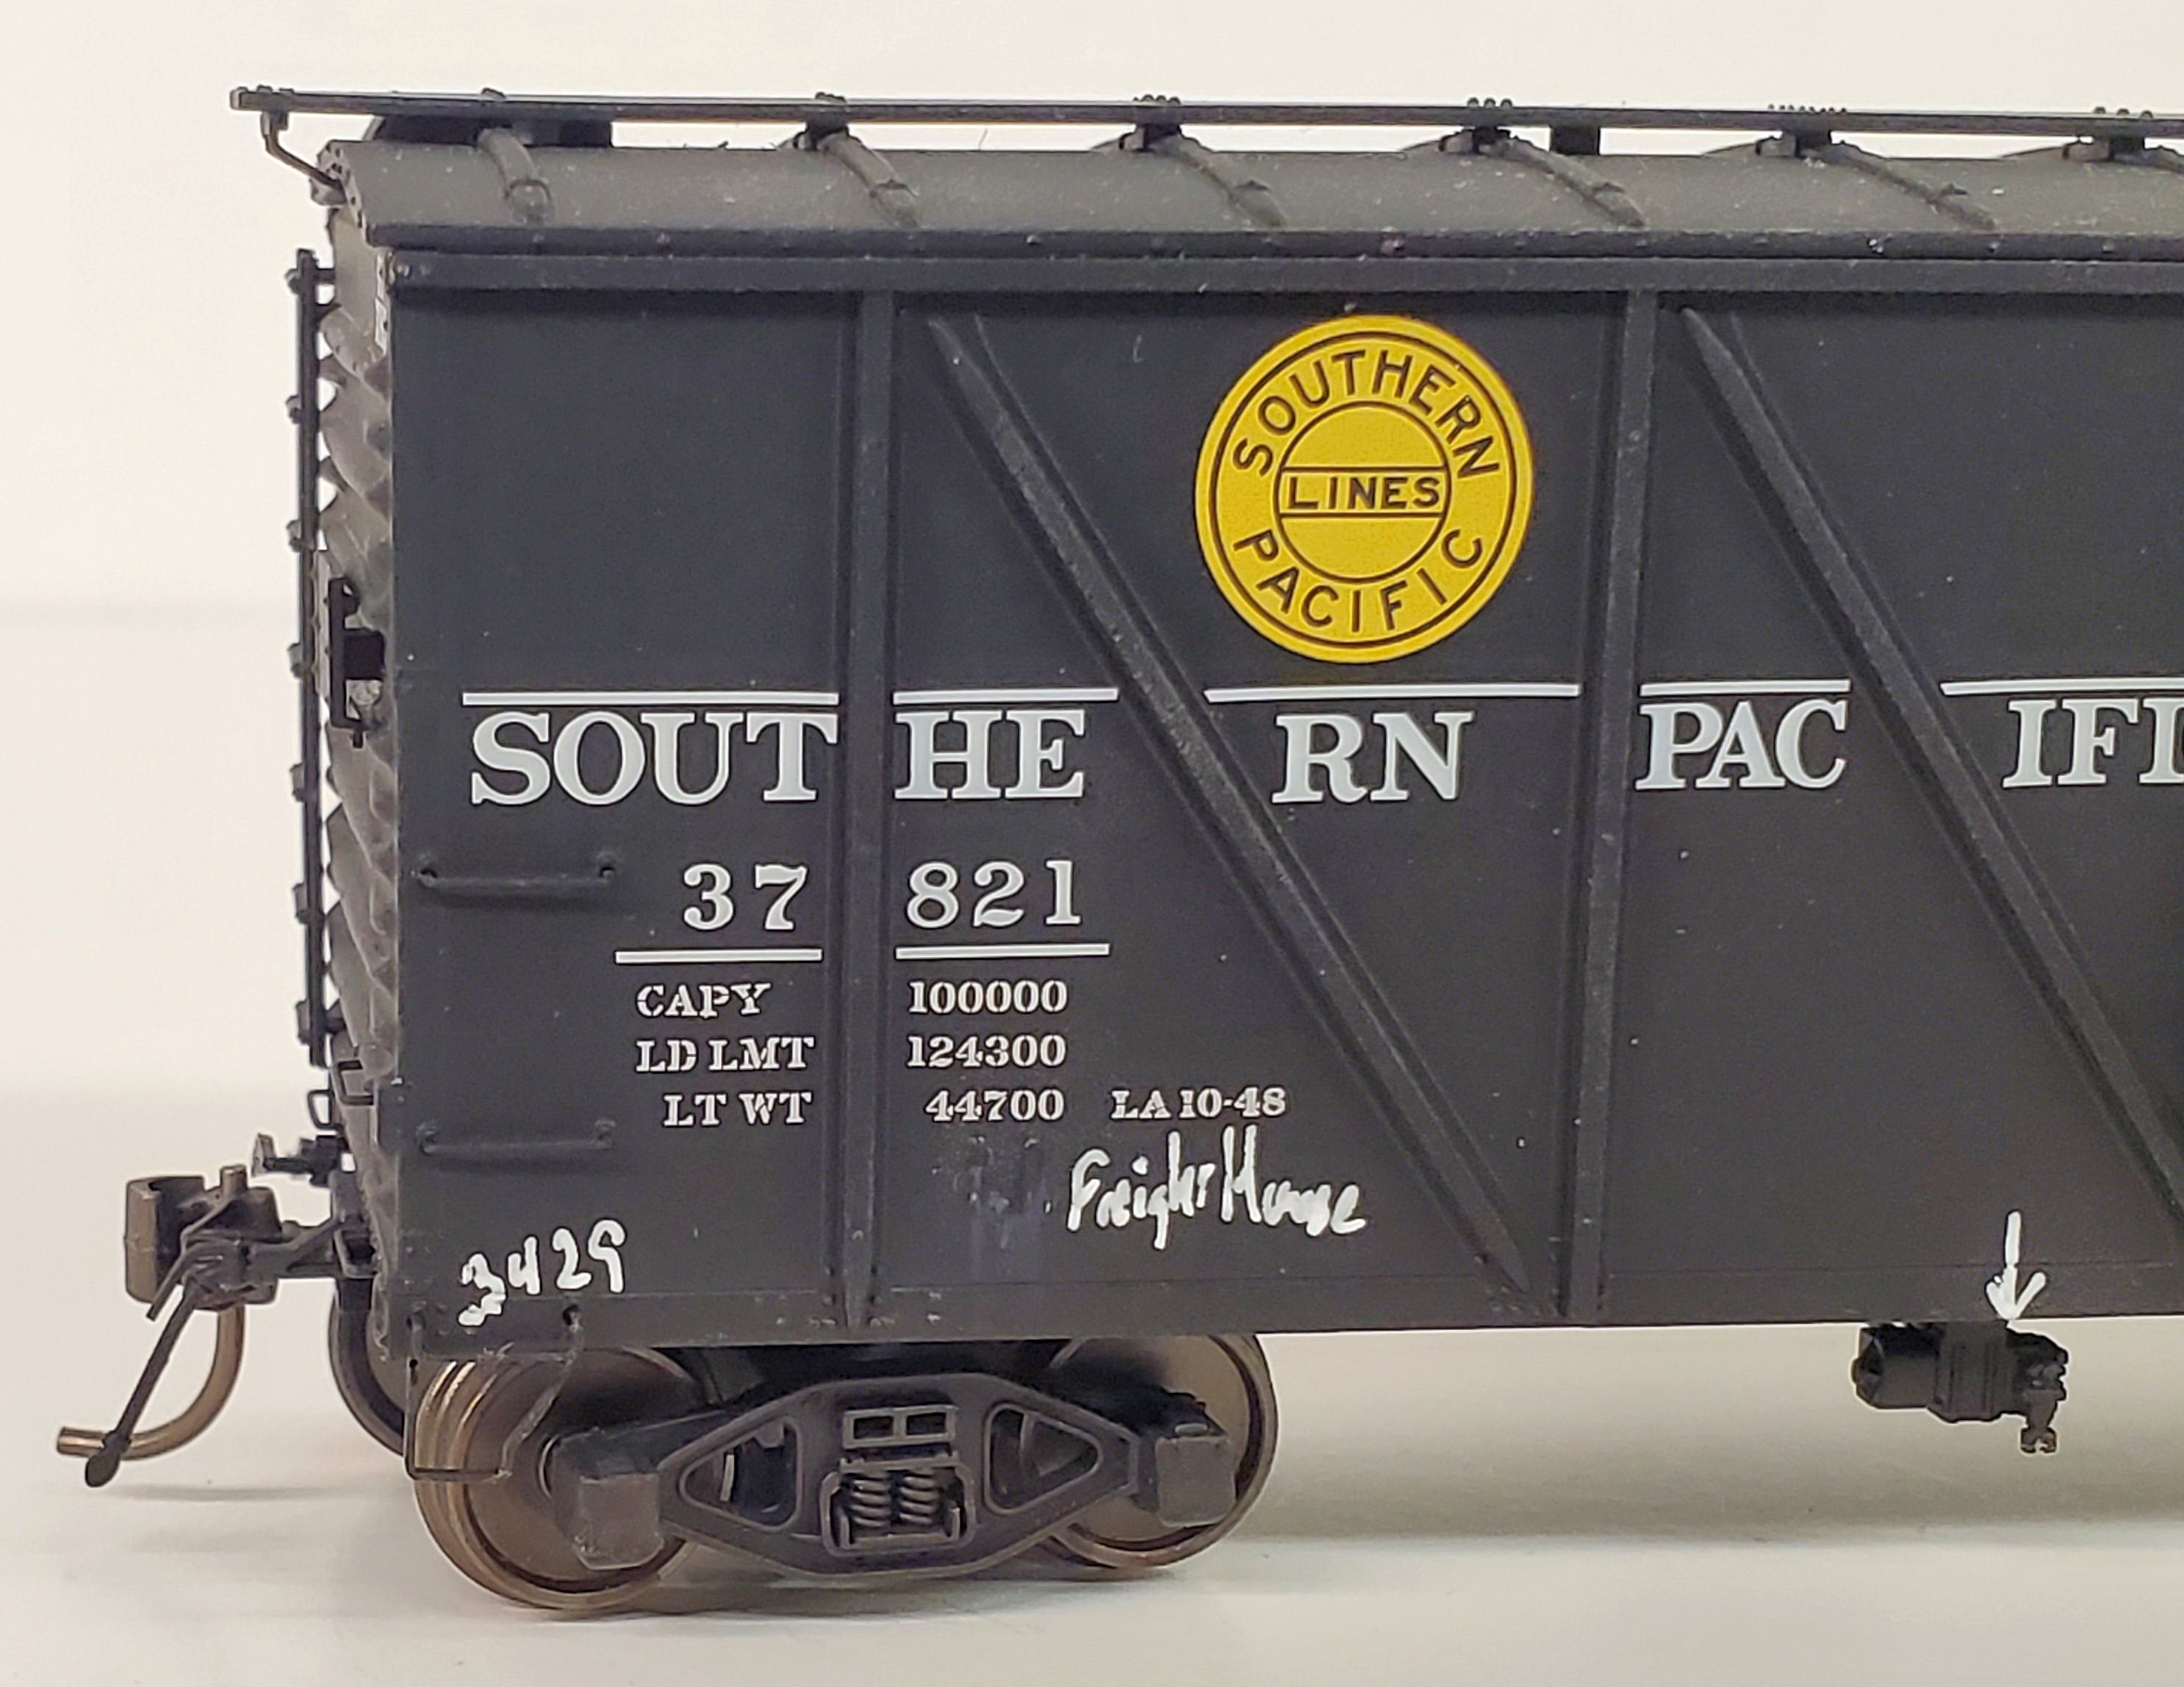
SP 37821 chalk mark "Freight House" and station code "3429".

I decided not to obviously assign the routing for this B-50-16 Overnight car to Los Angeles Freight House, but instead have hidden that exact message on the car by using the SP's Los Angeles station number, 3429.  The PMT 'Overnight' loading at the SP freight house was the usual loading/unloading point.  As I may be using the car in general freight service, which may focus on Freight Forwarders, which for the Jawbone Branch, often would mean coming from the LA Freight House also!  So win-win situation.

SP 37821 with "Team 3" chalk mark.

The other side of the Overnight car I went with a more generic chalk mark of "Team 3" which would probably be a spot or door number at the local Team track.

UTLX 72176


UTLX 72176 with "Clean out" note.

The tank cars get in on the fun too.  This Tangent GA Type 17 8k car has been marked with a carmen's order to "Clean out" the car, which was then struck out with a line and 'OK' marked, to show the car's clean and ready to go for the next trip.

I'll do more with the Tangent and Rapido tankcar models at some point, covering weathering and other little bits to improve the models.

In Closing


A parting view of NC&StL 15337... for now.

One other point to mention on the NC&StL 15337 which many cars will also show, I noticed that the prototype photo shows scuff marks and mud from the trainmen's boots as they climbed up to handle the brake and retaining valve.  Also one of the chalk marks on the prototype went behind the 2nd from the bottom ladder grab.  Lots of little details of marks to include on this car and others in my fleet.

Jason Hill

Related Articles:


SP 15469 (Part 1) - Lettering Changes & Backdating Rapido B-50-15

Weathering NP 11661 - A Rapido Double-Sheath Boxcar

Saturday, September 2, 2023

36ft Fowler Boxcars - NC&StL 15337 (Part 3) Wrapping Up & Weathering


Time to complete the NC&StL 15337.

It's only been a few days since I posted Part 2 of this series, but I wanted to get the rest of the decals applied and then do some light weathering to get the car buttoned up.

Finishing Up


Decals


The rough level of decal completion at the end of Part 2.

Wrapping up the decalling of the NC&StL 15337 with the tare station NE 4 45 and the spec stencils for AB BRAKES and DIRT COLLECTOR from the OwlMt F-50 decal sets.

Underframe Detailing - Brake Hangers


I custom bent and installed three brake hanger grabs under the car.

The original plastic brake hangers didn't last through the decalling process.  So I cut off the cracked plastic hangers, which were part of the centersills.  Then I drilled replacement mounting holes and bent 0.012" Phosphor Bronze wire to shape with my Leartherman needle-nose pliers.  A quick dip of the grab legs in a scrap puddle of CA before applying fixes them in place.  The weathering coat later on will get these to blend into the rest of the underframe.

One step that still needs addressing, the hand brake staff should have a rod with sections of chain to connect the staff to the brake cylinder.  The Accurail kit doesn't have anything supplied for this.  I'll probably scratch-built a piece to replicate this with some spare 0.012" PB wire as well.

Brake Staff & Wheel


I shorted it to the kit specified length, which is actually too short according to the prototype photo.

Brake staff with brass OwlMtModels brake wheel soldered in place.

I used the Accurail kit staff, which is 0.020" wire, and soldered the brake wheel at the top end.  The brake wheel itself is a replacement casting from OwlMtModels 1011 F-50-series Common Standard Stirrup & Brakewheel set.

Freshly applied Brake Staff in place.

I secured the brake staff with a small drop of thickened CA glue at the bottom stirrup and also at the brake platform step.  It was about this point when I checked the prototype photo and realized that I'd cut the staff too short according to the prototype photo!  Oops!

Stirrup Steps


Stirrup steps applied with a small drop of CA, so I can still remove the body shell as needed.

I then attached the single stirrup steps from the kit.  Accurail offers two installation options for the stirrup steps on the 36ft Fowler cars.

Closing the Body


Time to close up the body for a while.

However, I do want the car to be "closed up" most of the time and don't want the stirrups getting damaged due to unplanned removing of the underframe and floor from the body, so I'm applying four small drops of thickened CA glue at the bolsters.  I will be able to 'pop' these glue joints when it comes time to open the body again.

Looking Pretty Good


3/4 view with the decals all applied.

At this point I took a little time to enjoy looking at the fully painted and decalled model.

A-end and Left Side.

I went over most of the larger decal areas with my sharp No.11 Xacto blade and sliced the board lines into the decals.  This was specifically done on the doors' slogan area to be sure that extra applications of MicroScale decal setting fluid was able to get rid of any air bubbles and gaps under the decals at the board joints.

Weathering


I decided to start the weathering process with a wash of medium brown and a depot buff color from StarBrand with my airbrush.  

Left side of decalled model.

It turns out that it was light enough that all it really did was knock down the brightness of the decals, which is a really good start!

Right side of decalled model.

The last thing I wanted to do was put down too much color and cover up all the decals that I just spent all the time cutting up to correct to match the photo and putting into place!

Left side - checking against photo.

The prototype car isn't weathered very much, so I want almost all the decals to be clearly visible when I'm done.

NC&StL 15337 - Fowler -TRRA photo, East St Louis, July 1948, Illinois, Joe Collias coll, Bobs Photo - Ted Culotta collection

In looking at the prototype, the board lines are quite visible.  Shadows and possibly some dirt are accumulating around the Z-bracing and mud from the boots of the brakemen has applied to the side of the car above each ladder rung... either that or the toes of their boots has rubbed off the paint from those spots.

The car was painted with SP FCR as a basic color, so it's pretty bright red.

The color still is a bit too consistent, and I'll need to see if there's a good way that I can highlight just the board lines like the prototype photo... however I think the Accurail kit has more board grain detail than actual board joint lines, unlike most kits.  So that might be trickier to do in the weathering process, than just toning down the model.

After a wash of acrylic black with isopropal alcohol.

I wasn't really thinking, and sealed the body with Testors Dullcote and then made an alcohol wash to highlight the board lines and details.  I also used some Pavement and Burnt Umber to avoid using only straight black to mix up the colors more.

This treatment really did change the SP FCR to more of a gray-brown, which is good.

What I forgot about is that the Iso-Alcohol attacks the teflon (dulling agent) in the dullcote and turns it white... so my weathering ended up fading the car and adding darkened shadows at the same time!

A bit more work balancing out the weathering.

I was able to moderate the whiting effects of the dullcote + alcohol by carefully working the wash and adjusting it, wiping some with the paper towel and also wicking away extra wash before it set onto the carside.

In Closing


I think it came out pretty well.  I really like how the sprayed wash and the alcohol wash settled into door boards around the "DIXIELAND" slogan, which I was concerned the decal would be too thick to look reasonable.

NC&StL 15337 - Fowler -TRRA photo, East St Louis, July 1948, Illinois, Joe Collias coll, Bobs Photo - Ted Culotta collection

Time for a final prototype photo check against the model.  With the details complete and some light weathering, my NC&StL 15337 is ready to enter service.

Looks like this 'Dixieland' car is ready to visit the Jawbone Branch.

I'll still be adding some chalk marks and other small details in the future, so the car's not really finished, but then what car ever really is?  I'm also planning the next time I'm doing staff-brakes for the SP Accurail kitbashes, I'll redo this car's brake staff a bit longer to match the prototype photo.

Follow Up Blogs on Routing Cards & Chalk Mark Details


I used the NC&StL 15337 model to show some of the techniques for routing cards and chalk marks.

Prototype side of the NC&StL 15337, with all the chalk marks and routing cards in place.

I feel that the cars just don't look "lived in" if they don't have a couple of chalk marks and a routing card or grading card here or there.

"Typical" side of the car, which I don't have a photo for.

The 'brightness' of the chalk marks can be toned down slightly by a damp brush wipe of 70% alcohol, with some water, which tones down the strength of the alcohol.  This is useful to 'age' the chalk marks and make them look like they've faded or been scrubbed by a clerk to partly wipe them away.


Jason Hill

Related Articles:


ACCURAIL’S NEW SHORT BOXCAR MODEL AND ITS MATCHES PART 5: THE 1100-SERIES FOWLER BOXCARS by Ray Breyer

Detailing Accurail Fowler Boxcar

Saturday, June 18, 2022

Weathering NP 11661 - A Rapido Double-sheath Boxcar


NP 11661 after weathering and not requiring as much color adjustment photographed under softer cloudy lighting.

NP 11661, an NP Double Sheath Boxcar from Rapido after weathering, unfortunately in brighter sun light loosing the board details.

I'm continuing to expand my Jawbone Branch 1945-1954 fleet with this NP double-sheath boxcar from Rapido.  This model weathering is following within the week after my work on ATSF 129872 WWII War Emergency Boxcar.

Starting Point - Out of the Box


Rapido's Double-sheath Boxcar in the 1951-era lettering scheme out-of-the-box.

Reading through the comments in the history section of the instructions, the larger NP monon herald was introduced around 1951, but my steel Branchline Yardmaster boxcar shows the same herald with the "Main Street of the Northeast" by 1948.

Weathering


While I'm not exactly sure when this car's repaint would be correct for, however the model has a tare-date for 1951, so it is well within my modeling era of 1949-1954.  Therefore, I don't want the car to be too crusty on the sides as in either case the larger monon is a 'recent' change to the scheme, the car shouldn't be more than 1-3 years old.

PrismaColor pencils used for weathering

Some of my AppleBarrel acrylic paint selection

Most parts of the car get at least two or three coats of weathering with some drying time in between.  Most of these photos are taken during these breaks in the application of the weathering.  However because I want to keep the weathering very "light" on the sides, the multiple layers will have to be kept very minimal, which in the realm of weathering models is often the hardest to do.

I could certainly do some very light weathering on the underframe and trucks, and a bit of dust-soot on the roof, then dullcote and call it good for my era.  However, I want to do some more work with weathering pencils, but keep it light.

Brushes


Three examples of brushes I use.  These are cheap "glitter handle" craft brushes from Walmart.

Purple handle brush is getting worn out, with the bristles flaring outward, not really good for doing painting and fine work.  This happens on brushes that have been used to grind paint into various areas of cars.  I can still use this brush for generally weathering and applying color to the carside, roof, etc.

Blue handle brush is what I used to stipple the gray and rust onto the roof to simulate the failing roof paint and galvanizing.

Yellow handle brush is used for wetting large areas of carside before applying paint and starting to work big areas.  I also use it for blending dry-brushing dust on lower car sides with absolute minimal amounts of paint.

Galvanized Roof Failing & Rusting


The roof weathering starts with dabbling on Apple Barrel "Dark Gray" (20336E) with the tips of a brush to show the paint failing over the galvanized roof panels.  


"Nutmeg" brown is then applied to show rusting in the roof panels, followed by a slightly thinned "Pavement" wash/thick coat, which is then partially wiped off with a papertowel, which tends to blend the colors together on the roof and give some 'sooty' look.


Trucks have some coat of acrylic AppleBarrel "Pavement color, which is a dark gray.  More weathering layers will be applied to the trucks later.

Light Board Pencils


Slick factory paint doesn't accept weathering PrismaColor pencil very well, as the pencils just slip off the smooth surfaces.  Therefore, Dullcote is applied to give some 'tooth' to the car sides for the pencils to stick to.


The pencil colors I've chosen to use are: (PC 943) Burnt Ochra, (PC 944) Terra Cotta, (PC 945) Sienna Brown, & (PC 946) Dark Brown.  I avoid the grays because of how recently repainted the car is being modeled.  The brown pencil colors will just be able to show the slight differences of the paint on the wood boards and slightly changing the lettering color.


I kept the pencil strokes to very short 'pecks' of 1/16"-1/8" long movements aimed at roughly individual boards and kept to vertical movements.  The large white areas of the monon didn't accept pencil color very well.  If I was modeling an older car, which would have heavier paint failing on the herald, would require heavier dullcote and/or wash ahead of time to get the pencil to apply better.  As it is, I like the very minimal pencil just sticking on the edge of a board or two across the 'new' herald.

Acrylic Over-Wash


Right Side

I applied my regular application of brown-gray mix with the 'wetted' car side, which gives a very light wash on the upper sides.  Then I put a bit more of the color settle on the lower car side.

Right Side

I applied a little darker rich darker brown/gray along the bottom of the boards, below the lower side steel strap, about 4" above the lower end of the side-boards.  Exposed lower ends of the boards on cars in the Northwest can have water-dirt drawn into the end-grain.  So I put a bit more weathering on the bottoms of the boards, on the lower 8-18" or so.

Right Side

This slightly heavier weathering just at the bottom of the car in this case is done almost by single boards and brush strokes.  Where as on steel cars and on the ATSF 129872, I use a lighter drybrush style horizontally to blend the 'running grime' along the car.  In this case with the vertical boards, I want the weathering to be more selected to each board.

Left Side

In the end, the left side of the car has a bit more brown-gray 'spray', heavier on the lower side.  Again, I don't want the car to be very heavily weathered, so I'll probably be stopping here.  

In Closing


Retouched NP 11661 roof weathering, toned down a bit.

Right side of NP 11661 after weathering

These three photos were taken outside in 'soft light' cloudy near sunset, so the board detail and weathering should show a bit better than some of the full summer sunlight the ATSF 129782 had last post.

Left side of NP 11661 after weathering

Jason Hill

Related Articles:


ATSF 129872 WWII War Emergency Boxcar Weathering with Pencils and Acrylics

SP 65ft Mill Gondolas - Examples of Athearn 65ft Mill Gondolas including weathering tips.

Open Loads (Part 1) - Building Steel Loads - Also showing weathering on gondolas

SP Prewar Boxcars (Part 1) B-50-18,19,20,21,23 Classes - History and Modeling with Weathering

SP Jawbone Branch (Part 4) - Freight Car Roster - Various cars planned for my layout.