
 |
| SP 32451 painted and progressing along. |
Grab Irons
 |
| For this car I'm using the grab iron jig from OwlMtModels F-50-series flatcar kit. |
These jigs work well to make more grab irons after the basic number of grabs to complete the flatcar.
 |
| I drilled the lower end grabs at about a 45 degree angle. |
These lower end grabs need to be mounted right along the bottom of the steel ends. This makes them exceptionally difficult to drill. Also in the photos, the grabs are "Drop grabs" which are bent down below the lower edge of the car end. So instead I drill the legs at an angle to make more secure glue anchors for the legs.
 |
| Another view of the end grabs installed and then bent into the final position. |
Once the grabs are installed with ACC/CA glue, I bend them into the final position.
Ladders
 |
| Plastic ladders desprued, prepped to install. |
The Sunshine kit comes with a sprue of plastic ladders. I carefully cut them off the sprue with my sprue cutters and prepared them to install.
 |
| Side ladder ACC/CA'd in place. |
I applied glue to the face of the ladder brackets on the body. I used a piece of square steel to weight the ladder and press the ladder in place.
 |
| Completed Ladders in place. |
Once the ladders dried, here's the view of them in place with the end grabs in place as well. I also mark the center of the end at the top to match to the center of the roof. As the roof will be a smooth mating plane, there will be no indexing of it outside of by eye and glue.
Gluing Roof On
 |
| Pencil mark showing how to center the roof. |
Here's the roof resting in place showing alignment.
 |
| Other end with the roof centered. |
End Placard Boards
 |
| End tack boards glued in place per photo locations. |
End of car ready for paint.
 |
| Side view of the car at this point. |
Ready to have the doors installed. The doors were pretty easy to cut out and glue in place with the ACC/CA glue. Unfortunately, I didn't get specific photos of the unpainted doors installed at this stage.
Bolster Covers
 |
| Bolster cover plates installed. |
Centersill Weight
 |
| Center cross beams caps glued in place. |
I probably should have reversed a couple of these steps, but I went ahead and glued the center crossbeam caps over the centersill before I installed the centersill weight. Thankfully this didn't cause too much trouble.
 |
| Centersill weight glued in place with thin ACC/CA glue. |
I was able to slide the weight strip in from one end, over the bolster and under the center cross beams.
 |
| Second weight and double-rubber banded in place |
Once I flowed thin ACC/CA glue around the weight from one bolster, I set a second weight that I'd cut to fit on top of the underframe, and then double-wrapped two rubber bands around the body. The second weight is acting as a spacer to keep the thin glue from wicking up and gluing the rubber band to the centersill. The second weight is also acting as a focusing block for the rubber bands to press only on the weight in the centersill, not on the resin flanges of the centersill. This way the centersill weight is pushed all the way into the centersill and will bond in the desired place.
Painting Body & Salt-Masking
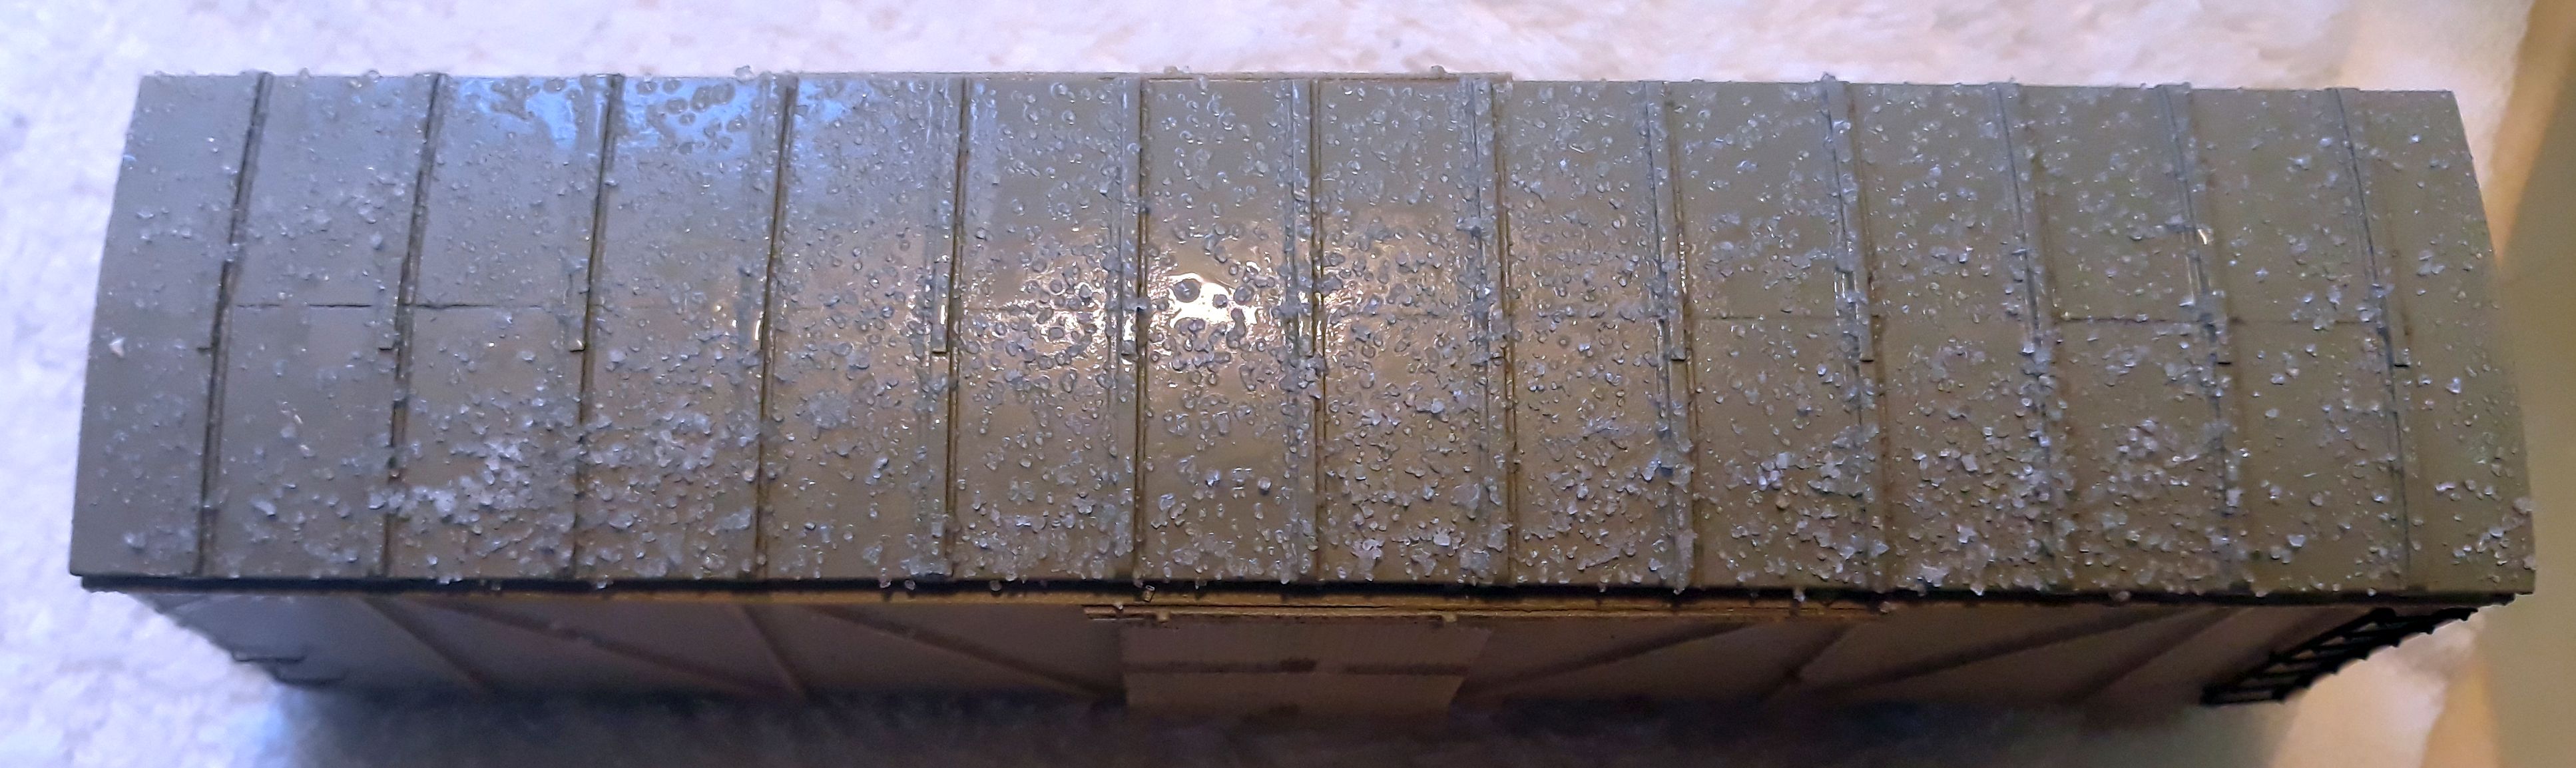 |
| Salt-mask in place over light gray base. |
At this point I washed the 32451 body with dish soap and a tooth brush to help break any remaining oils on the body before painting.
 |
| SP 32451 with a good coat of SP FCR paint from StarBrand. |
The car is painted all-over SP FCR. The under frame will get some running weathering on the underframe once I get the brake parts & rigging installed.
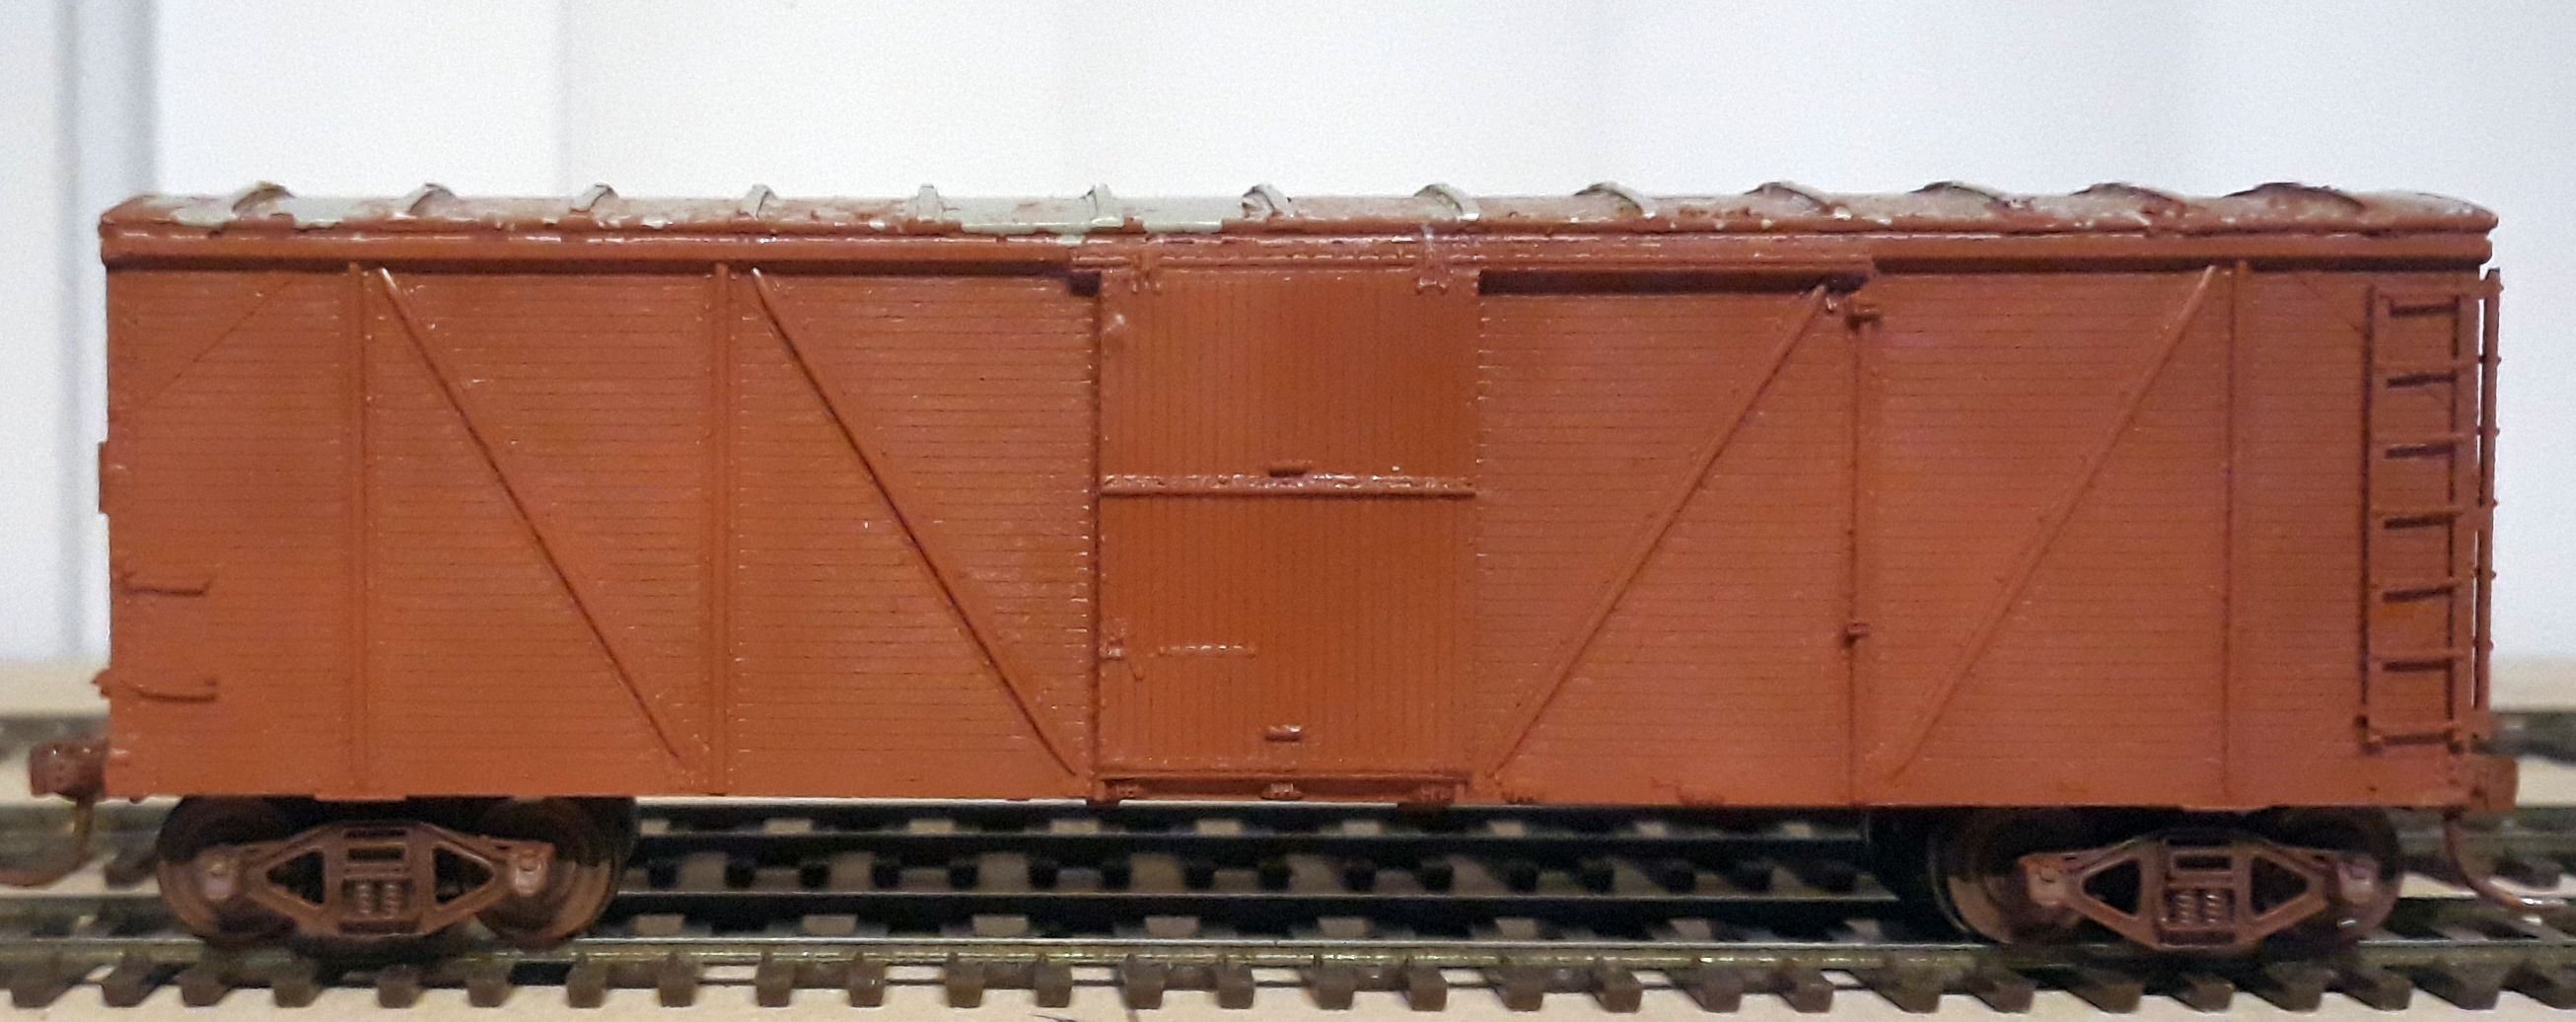 |
| Other side of the SP 32451. |
Note that at this point the stirrup steps and smaller details are not in place.
 |
| After painting FCR & washing off salt-mask. |
Stirrup Steps
 |
| Stirrup holes drilled in bottom of the resin sides of the car. |
The prototype photos in Anthony Thompson's SP Freight Cars Vol.4 Boxcars shows that the stirrups are interesting in that they are bent outward, and then back to vertical in the lower part, which squares up the flat step portion.
 |
| Stirrups bent outward at the body joint and glued in place. |
I use the A-Line steps which are bent with my Leatherman pliers to 'kick out'. The steps are ACC/CA glued in place. Note that there's no paint on them at this point, as the paint would be chipped off during the bending process.
 |
| Stirrups reverse bent part way down to match prototype photos. |
AB Brake Cylinder & Parts
I started installing the major brake system components. The AB Cylinder is one of the spare cylinders from one of my OwlMtModels F-50-series flatcars which was using the K-brake cylinder. There's still much more to do on the underside of the car with the brake levers and rods.
In Closing
The decals on this car with a combination of the original Sunshine decals, Speedwitch SP AAR boxcar decals, and some data/tare info from OwlMtModels F-50-series decals. My goal is to replicate the SP 32451 shown in Anthony Thompson's SP Freight Cars Vol.4, Boxcars book.
 |
| Decalling is pretty much complete now, time for last finishing work. |
To wrap up the work on the car, I'll need to do more on the Roof Walks and Brake Rigging. Then will come the finish weathering.
Jason Hill
Related Articles:
SP/T&NO B-50-15/16 (Part 1) - Modeling, Research, & Rapido Models coming
Modeling SP 32451 (Part 1) - Sunshine B-50-15
Freight Car Overview Index - Quick way to view my various freight car blog posts.
Eric Hansmann's Westerfield B-50-15 Build & Review
Eric Hansmann's Westerfield B-50-15 Build & Review
No comments:
Post a Comment
Please identify yourself at the end of your message. Please keep comments relevant to the post or questions to me directly.
All comments are moderated and must be approved, so give me a bit of time to approve them.
No random solicitation in comments. Spamming and phishing comments will be deleted or not allowed to post.